
Last updated September 20, 2026
Full 25-point door and opener safety check with every visit - springs, cables, rollers, tracks, and your LiftMaster or Chamberlain opener included
You get a price before we start. It does not change when the truck arrives.
 Before
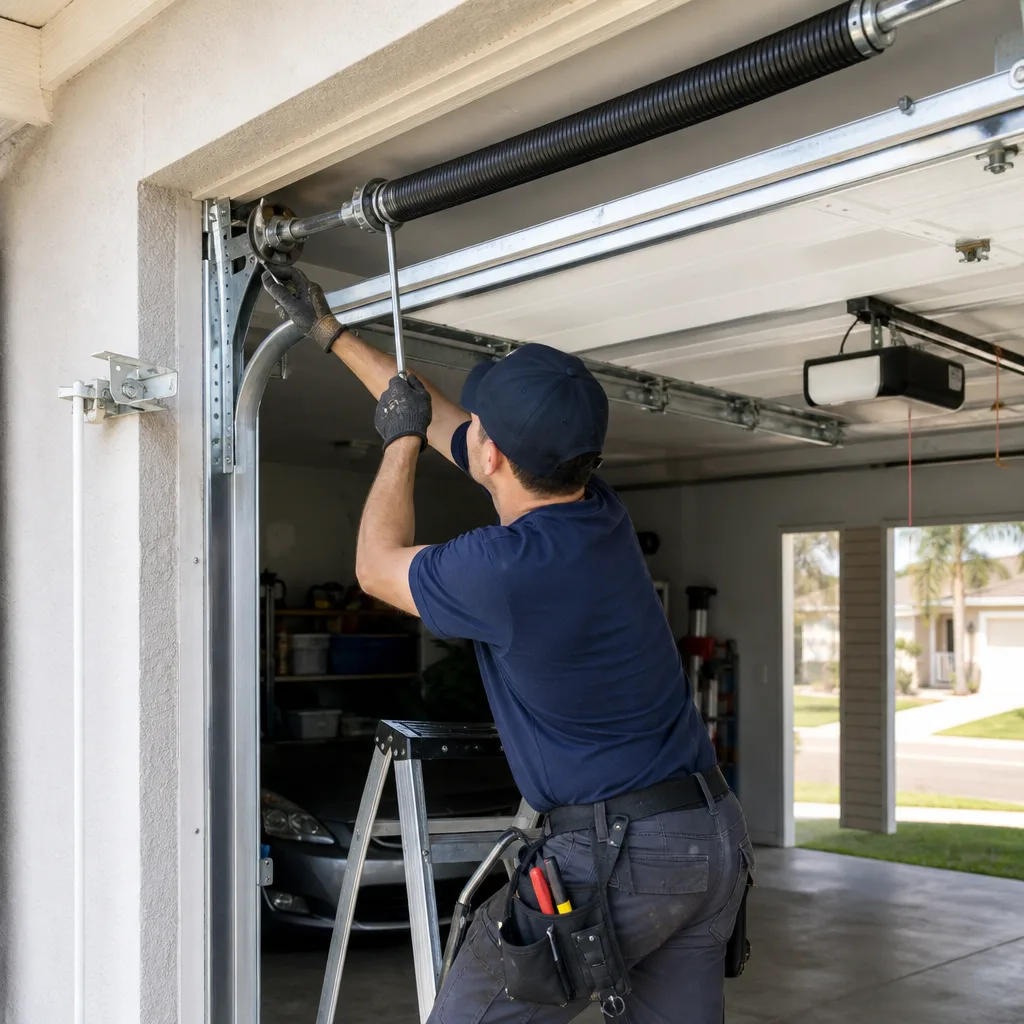 After
After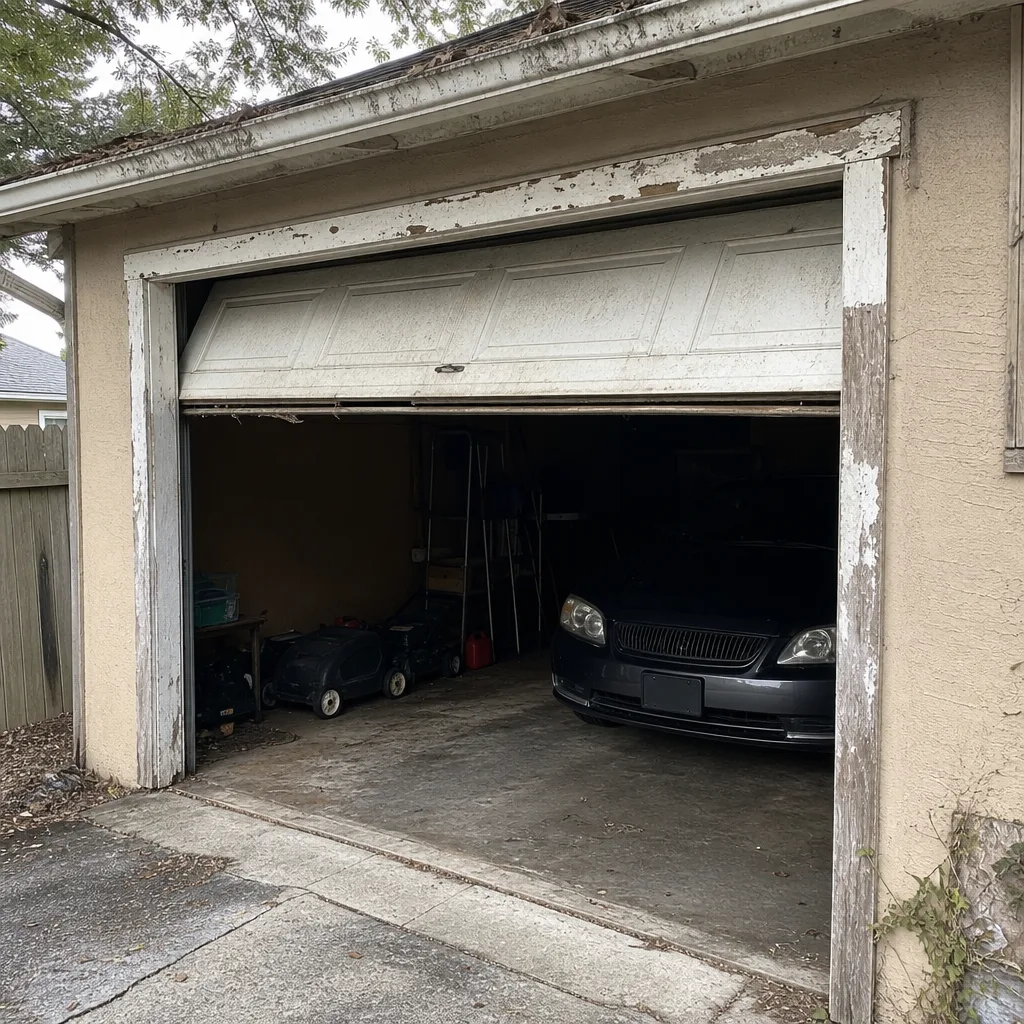 Before
 After
After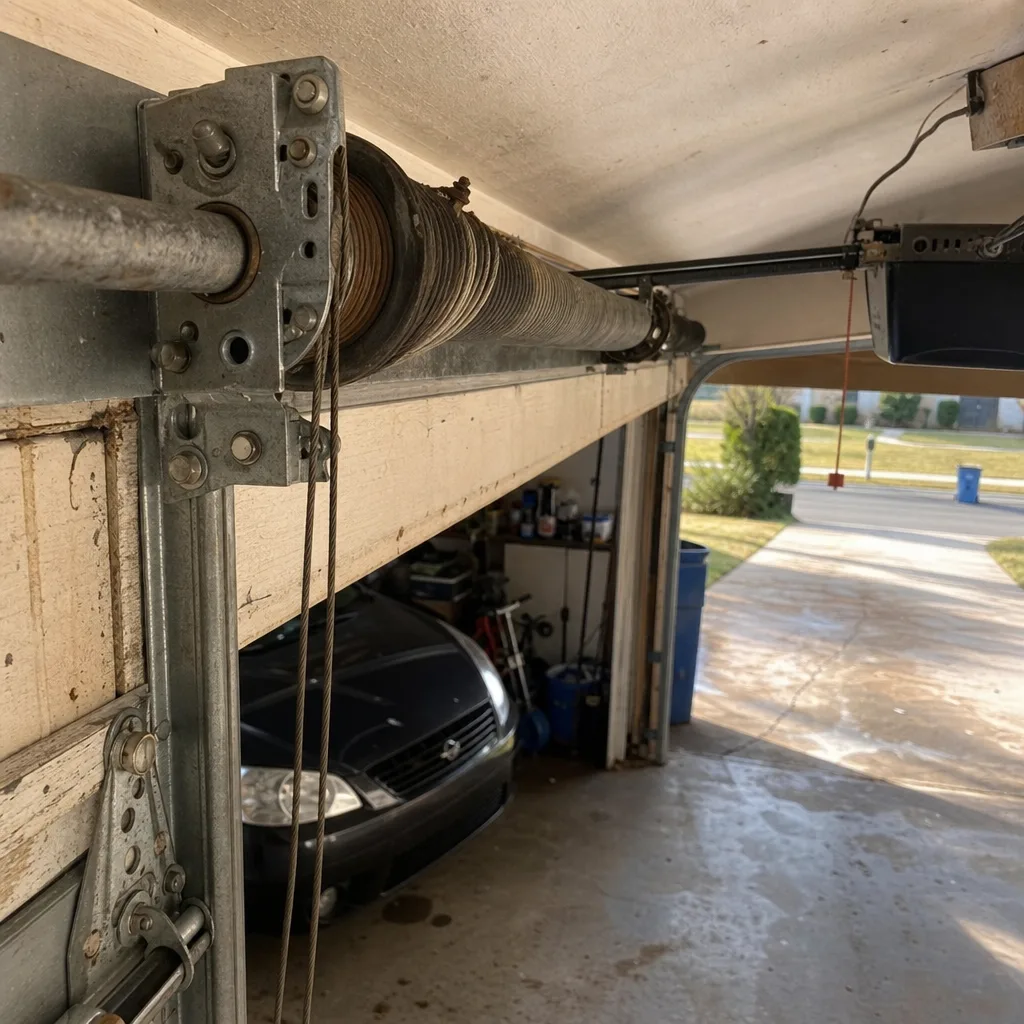 Before
 After
AfterGarage Door Repair Maintenance Checklist for Lakeland Homeowners
The average garage door in Lakeland cycles open and closed roughly 1,500 times a year, and most of the failures we see on service calls trace back to one skipped maintenance task, not one catastrophic event. WD-40 is listed as a garage door lubricant on more DIY blogs than any other product, and it’s wrong for every metal-on-metal contact point on your door. It displaces moisture temporarily, then dries out and leaves residue that attracts the grit Lakeland’s pollen season deposits in quantity. This guide names the component, the product, and the failure mode each task prevents, so you know which ten minutes of work saves you a $300 repair in March-or you can skip the guesswork with our Garage Door Repair services.
Quick Answer
A garage door maintenance checklist for Lakeland homeowners should cover six components: torsion springs, rollers, cables, tracks, the opener, and the bottom weather seal. The tasks that matter most in this climate are cleaning pollen from the tracks in spring, lubricating the rollers and hinges with a lithium-based spray twice a year, and testing the auto-reverse safety system monthly. Most checks take under ten minutes and require nothing more than a rag, a can of white lithium grease, and a phone camera to document what you find. For more guides & resources, see our blog.
Table of Contents
- Torsion Springs: What to Look For, What Not to Touch
- Rollers and Hinges: The Right Lubricant, The Wrong Lubricant
- Cables and Pulleys: The Parts That Should Never Look Frayed
- Tracks and Brackets: Pollen Season in Lakeland Is a Friction Problem
- The Operator: Force Settings, Limit Switches, and Why ‘Adjusted’ Matters
- Weather Seal and Panel Condition: Humidity, Sun, and Storm Season
- How to Document Your Maintenance with a Photo Log
- A Lakeland Seasonal Maintenance Calendar
BeforeAfterTorsion Springs: What to Look For, What Not to Touch
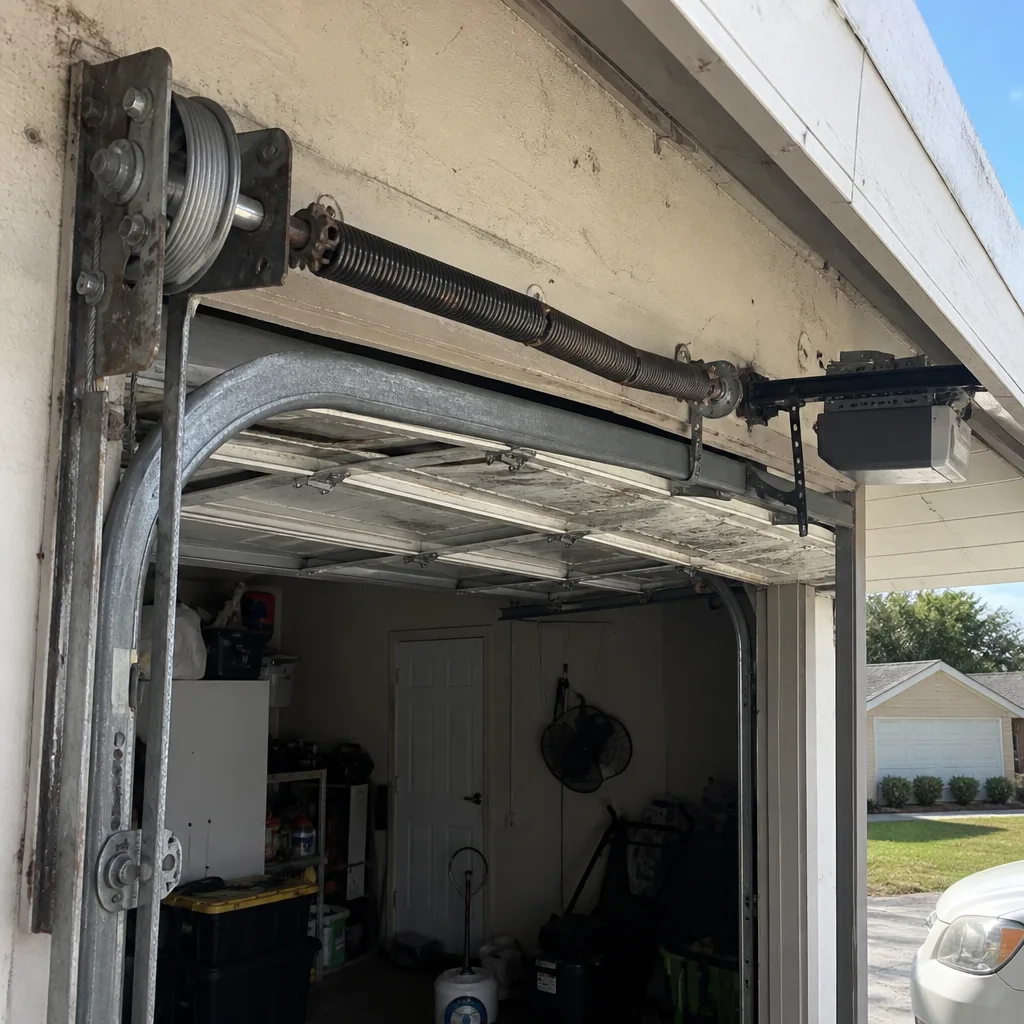
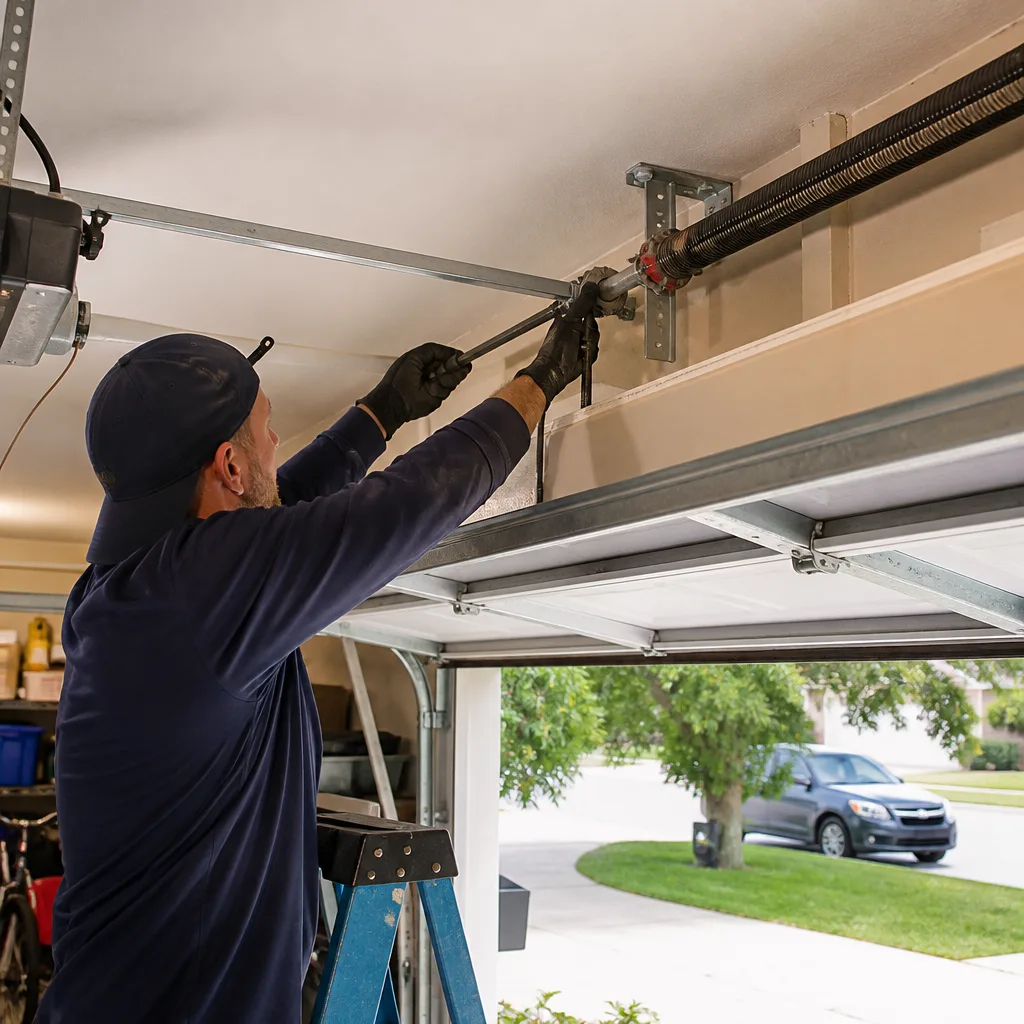
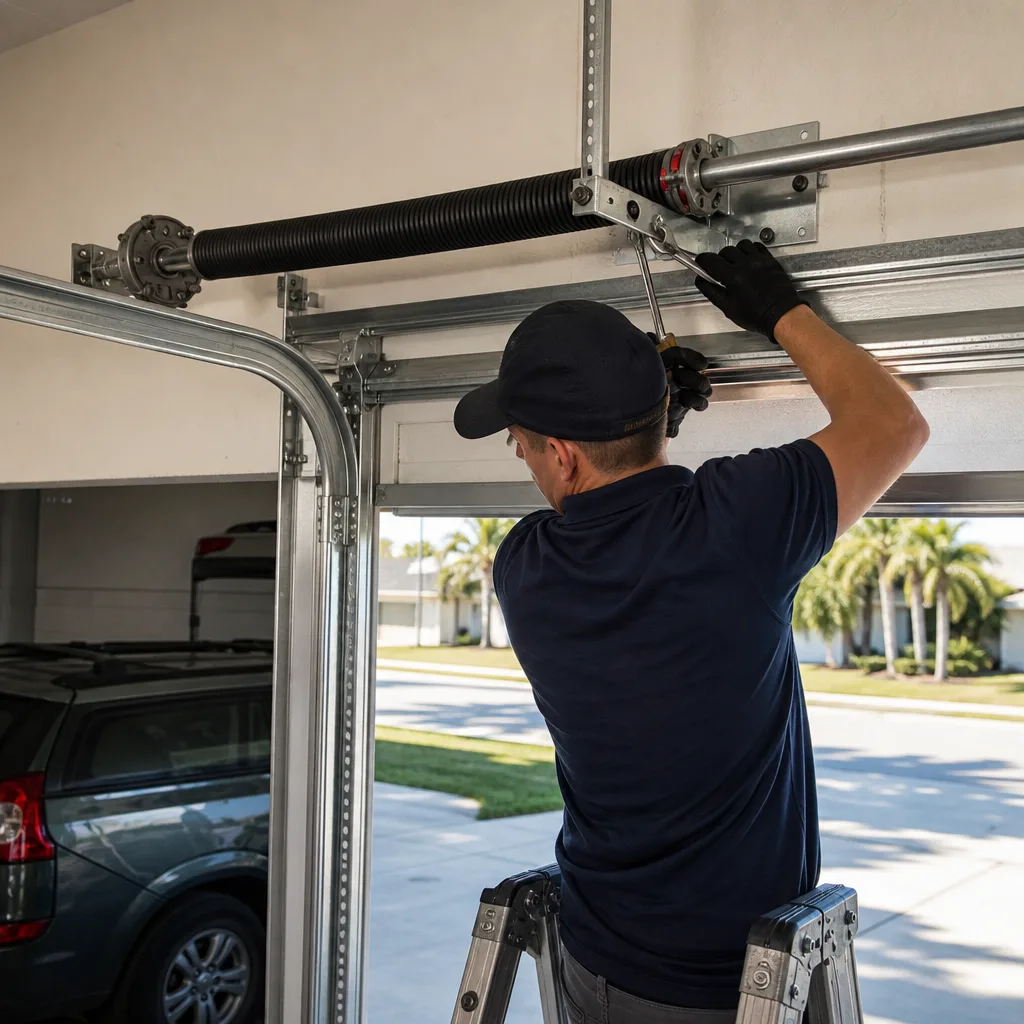
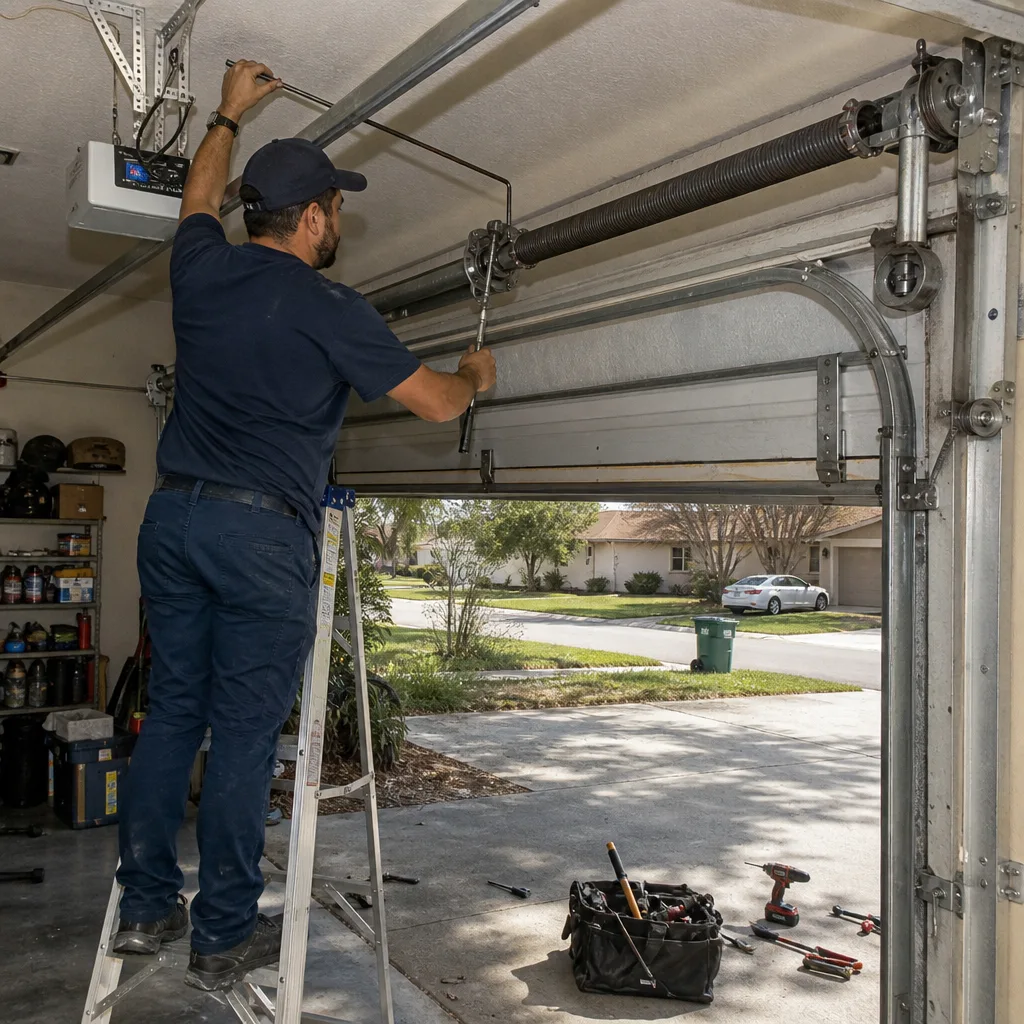
Garage door springs in Lakeland fail most often between May and September, when heat and humidity put the steel through repeated expansion and contraction cycles. A torsion spring is the coiled assembly mounted on a metal shaft above the door opening, and it stores enough tension to lift the door’s full weight. That stored tension is the reason spring inspection is a look-don’t-touch task.
Stand inside the closed garage and look up at the spring. What you’re checking for is a visible gap in the coil. A broken torsion spring shows a clean separation, usually one to two inches wide, often accompanied by a loud bang you would have heard when it snapped. You may also see rust blooming at the break point, which is normal in Lakeland’s humidity.
Here’s the homeowner-safe inspection sequence:
- Close the door fully. This is the only safe position for a visual spring check, because it’s when the spring holds minimum tension.
- Look for a gap. Any separation between coils means the spring is broken, not worn. A broken spring is not a repair task; it’s a replacement.
- Check for rust. Surface rust is common and usually cosmetic. Deep pitting or flaking, however, weakens the coil and shortens its cycle life.
- Photograph what you see. Even a healthy spring. This creates a baseline for comparison.
Do not attempt to adjust, lubricate, or replace a torsion spring. The winding cone holds enough stored force to break bone or worse if a winding bar slips. At Servo Garage Doors Lakeland, we’ve seen springs that measured fine on a visual check but were installed with the wrong wire diameter for the door’s weight. That’s the kind of finding that only shows up when a technician measures the coil with a caliper, which is Clause 4 of The Haven Standard: the failed component gets photographed and the measurement documented before anyone quotes a replacement.
For more on what a spring replacement actually involves, see our full Garage Door Repair in Lakeland page.
Rollers and Hinges: The Right Lubricant, The Wrong Lubricant
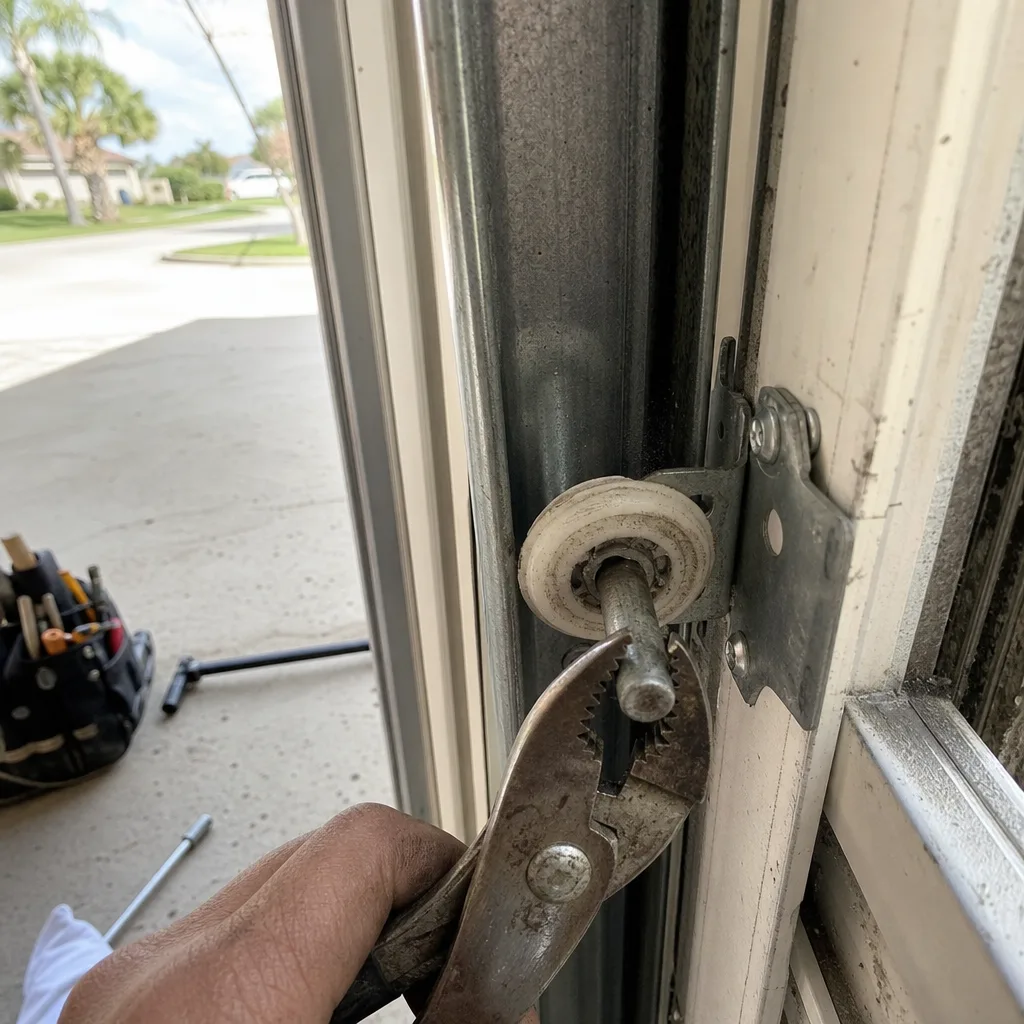
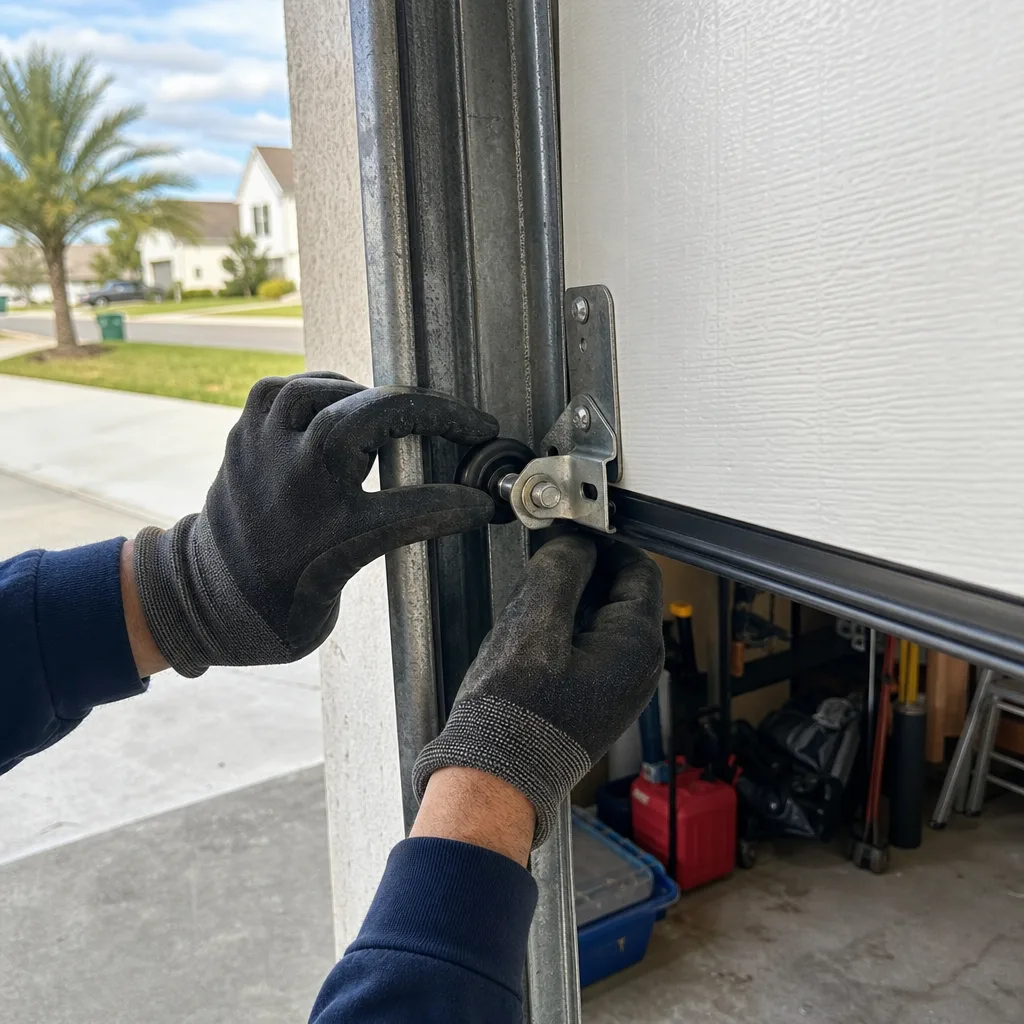
Rollers are the small wheels that carry the door along the vertical and horizontal tracks. In Lakeland, nylon rollers are the dominant type on doors installed after 2005, and nylon rollers have a specific maintenance requirement that petroleum-based sprays actively work against.
The correct product is a lithium-based spray grease, applied to the roller bearing, not the wheel itself. The wrong product is WD-40, which is a moisture displacer with a solvent carrier. It washes out the existing grease, evaporates, and leaves a thin residue that holds dust. Lakeland’s oak and pine pollen season runs from February through April, and that pollen is fine enough to stick to any residue and build up inside the roller bearing. A roller bearing packed with pollen dust generates friction, and friction is what wears the nylon wheel flat.
Here’s the maintenance sequence for rollers and hinges, two to three times a year:
- Close the door. Work with the door down so the rollers are accessible but under minimum load.
- Wipe each roller bearing with a clean rag. You’re removing pollen dust and old grease, not polishing the wheel.
- Apply white lithium grease to the bearing. A short burst at the center of the roller, where it meets the stem. Do not spray the track itself; grease on the track attracts grit and makes the door bind.
- Lubricate each hinge pivot. Door hinges have a metal pin that rotates inside a barrel. One short spray on each side of the pivot is enough.
- Open and close the door once. This distributes the lubricant across the bearing instead of leaving it pooled.
If you hear a grinding sound from a roller, the bearing has failed and the roller needs replacement, not lubrication. Rollers come in standard and long-stem configurations, and the stem length is measured in inches. We carry replacements on the truck for Wayne Dalton, Craftsman, and LiftMaster doors because those three brands account for a significant share of the installed base across Lakeland, particularly in the neighborhoods south of Lake Hollingsworth and along Cleveland Heights Boulevard.
Cables and Pulleys: The Parts That Should Never Look Frayed
Garage door cables are the steel wires that run from the bottom brackets, up the sides, and around the pulleys near the top of the door. They work with the springs to lift the door, and they are load-bearing at all times. A cable that looks frayed is a cable that will snap, and when one cable snaps, the door drops suddenly on one side, which can bend the track and damage anything in the door’s path.
The inspection is simple: with the door closed, run your eyes along each cable from the bottom bracket to the top pulley. You’re looking for three specific signs. First, broken strands: individual wires that have separated from the cable, making the edge look hairy or fuzzy. Second, rust: Lakeland’s humidity accelerates cable rust, and rusted cables lose tensile strength even if they look intact. Third, slack: a cable should sit taut against the pulley. Any visible slack means the spring is not holding proper tension, and that condition requires a technician to correct.
Here’s what we find on service calls that never appeared on a homeowner’s checklist: the cable looks fine from the middle of the garage, but the bottom bracket where the cable attaches has started to pull away from the door. That bracket carries the full cable load, and corrosion at the attachment point in a Lakeland garage that’s been flooded even once, even from a bathroom overflow, is common. Check the bracket with a flashlight. If you see rust streaking or movement, stop using the door and call a technician. This is not a homeowner-safe repair because the cable is under tension at every point in the cycle.
For context on what a cable repair costs and how it’s quoted, the repair page covers it.
Tracks and Brackets: Pollen Season in Lakeland Is a Friction Problem
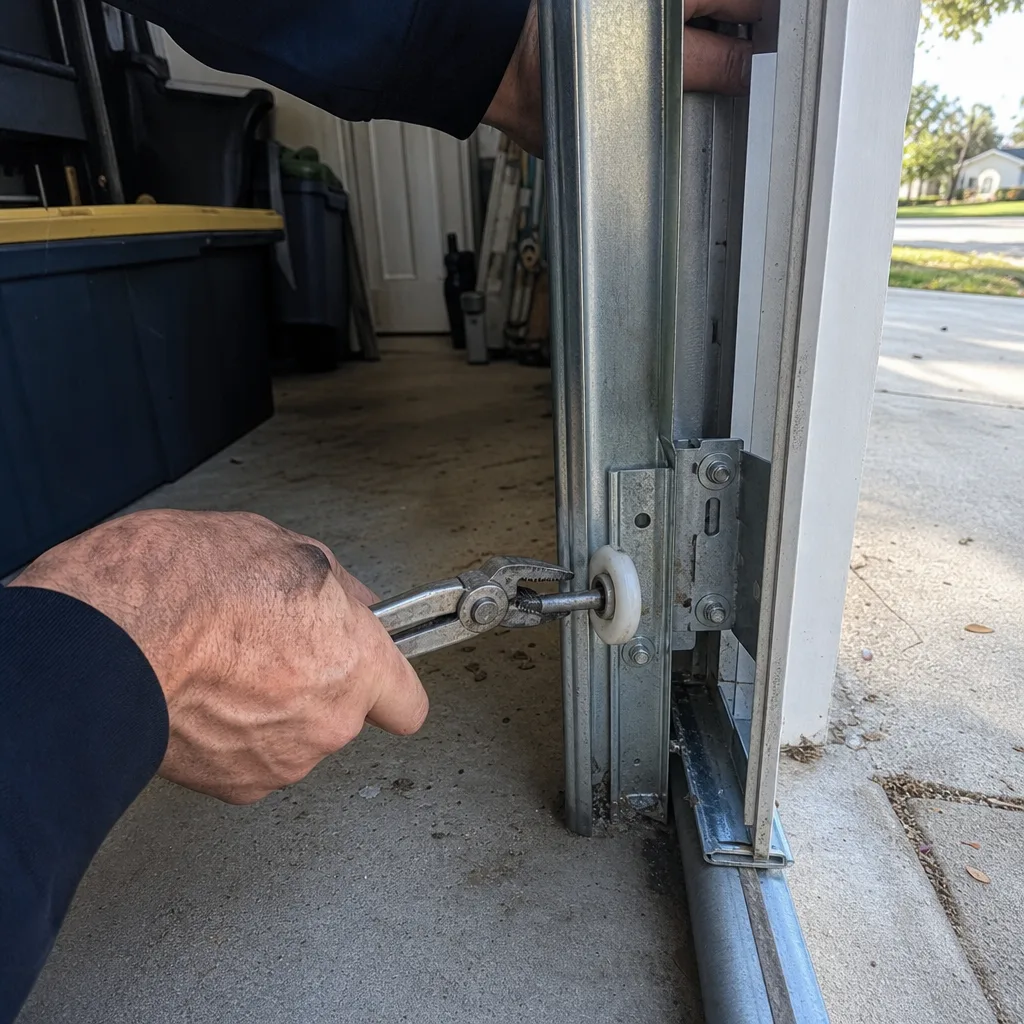
The track is the formed steel channel that guides the rollers, and in Lakeland it collects more debris than in most of the country. Our pollen load runs from February through April, with a second wave in October, and the fine yellow-green dust settles inside the track channel where the rollers travel. Left in place, it combines with the lithium grease that migrates off the roller bearings and forms a paste. That paste is the number one cause of door slowdown we see in April and May.
Track maintenance is a three-step task that takes about five minutes per side:
- Wipe the inside of each track with a dry rag. Focus on the vertical sections, where gravity deposits the most debris. Work top to bottom so you’re not pushing dust into the curved section.
- Check the track brackets. The brackets that hold the track to the wall should be tight. A loose bracket lets the track flex during operation, which changes the door’s geometry and accelerates roller wear. Tighten loose lag screws with a socket wrench; if the hole is stripped, replace with a longer screw of the same diameter.
- Check alignment. Stand at the back of the garage and sight down each track. Both vertical sections should be plumb (straight up and down), and the horizontal sections should run parallel to the ceiling. A track that’s visibly bowed or kinked needs professional correction, because bending a track back into alignment requires removing tension from the system first.
Do not use a degreaser inside the track. It strips the light factory oil film that protects the steel from rust, and Lakeland’s humidity will surface-rust an unprotected track within a season. A dry rag is all you need. If the paste is too thick to wipe free, use a plastic scraper, never steel wool, which scratches the surface and gives rust a place to start.
If track realignment or bracket replacement is on your list, our installation page covers the structural work we do when a door has shifted out of true.
The Operator: Force Settings, Limit Switches, and Why ‘Adjusted’ Matters
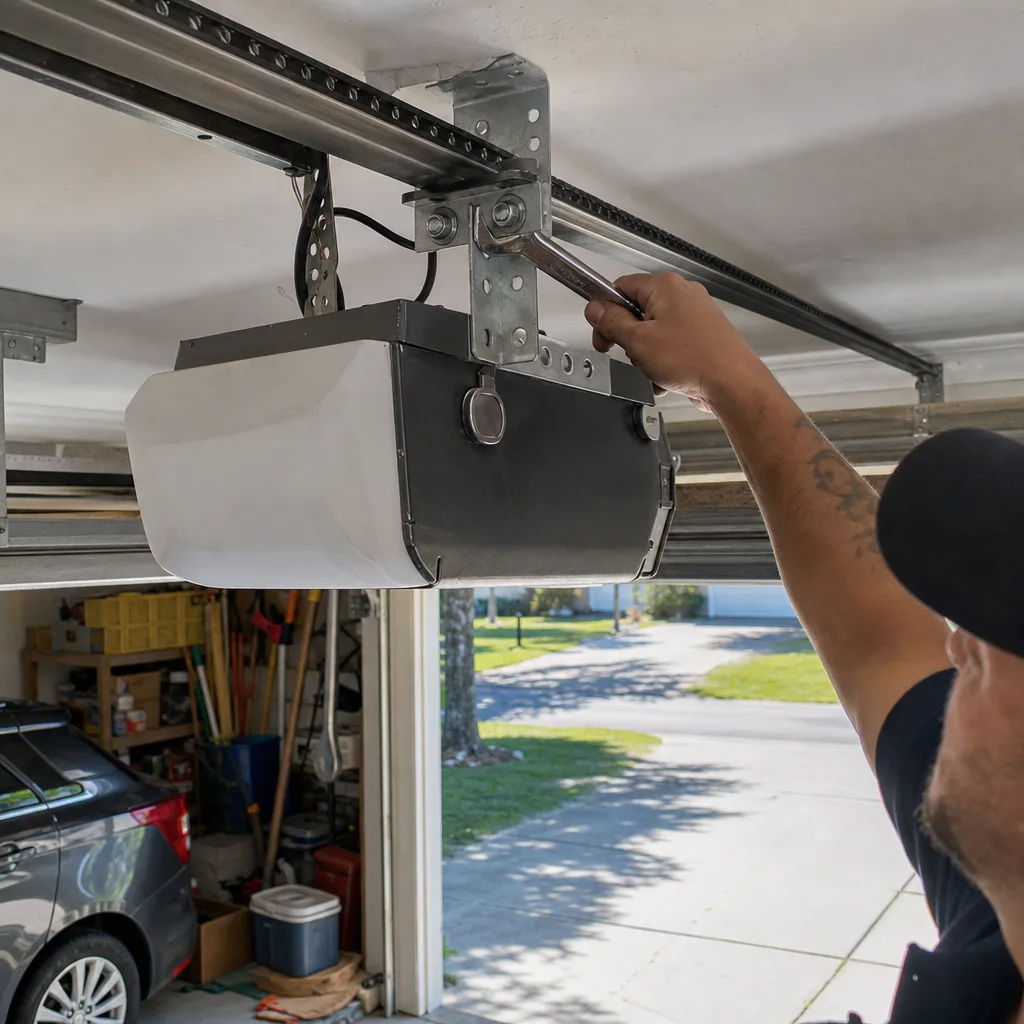
The operator, what most people call the opener, is the motor unit mounted to the ceiling that drives the trolley carriage along the rail. It contains two settings that determine how the door behaves: the limit switches, which tell the motor where the open and closed positions are, and the force settings, which control how hard the motor pushes before it reverses. These settings drift over time, and on older LiftMaster and Craftsman units, the drift can mean the difference between a door that closes properly and one that reverses off nothing, or worse, one that keeps pushing against an obstruction.
Monthly testing is a homeowner-safe task and takes under five minutes:
- Test the auto-reverse with a roll of paper towels. Open the door, place a full paper towel roll flat on the floor where the door closes, then close the door. The door should contact the roll and reverse within two seconds. If it crushes the roll, the down-force setting is too high.
- Test the photoelectric eyes. Start with the door open, wave an object through the beam between the two sensors, and press the close button. The door should not move. If it does, the sensors are misaligned or the wiring is compromised.
- Watch the closed position. When the door closes, the bottom seal should compress evenly against the floor, and the door should not bounce back up. A bounce means the down limit switch is set too far.
Here’s the translation for a common invoice line item. When a technician writes “adjusted limits and force,” it means they recalibrated the two limit switches so the door travels to the correct positions, and reset the force settings so the motor pushes with the minimum pressure needed to move the door. It’s a legitimate line item, and it should be verifiable. Ask the technician to show you the adjustment. At Servo Garage Doors Lakeland, the documented photo record includes a before and after photo of the limit switch position on the rail, so you can see the physical change. That’s Clause 4 made visible.
For more on opener repair, including troubleshooting specific LiftMaster and Craftsman error codes, see Garage Door Opener Repair & Installation in Lakeland.
Weather Seal and Panel Condition: Humidity, Sun, and Storm Season
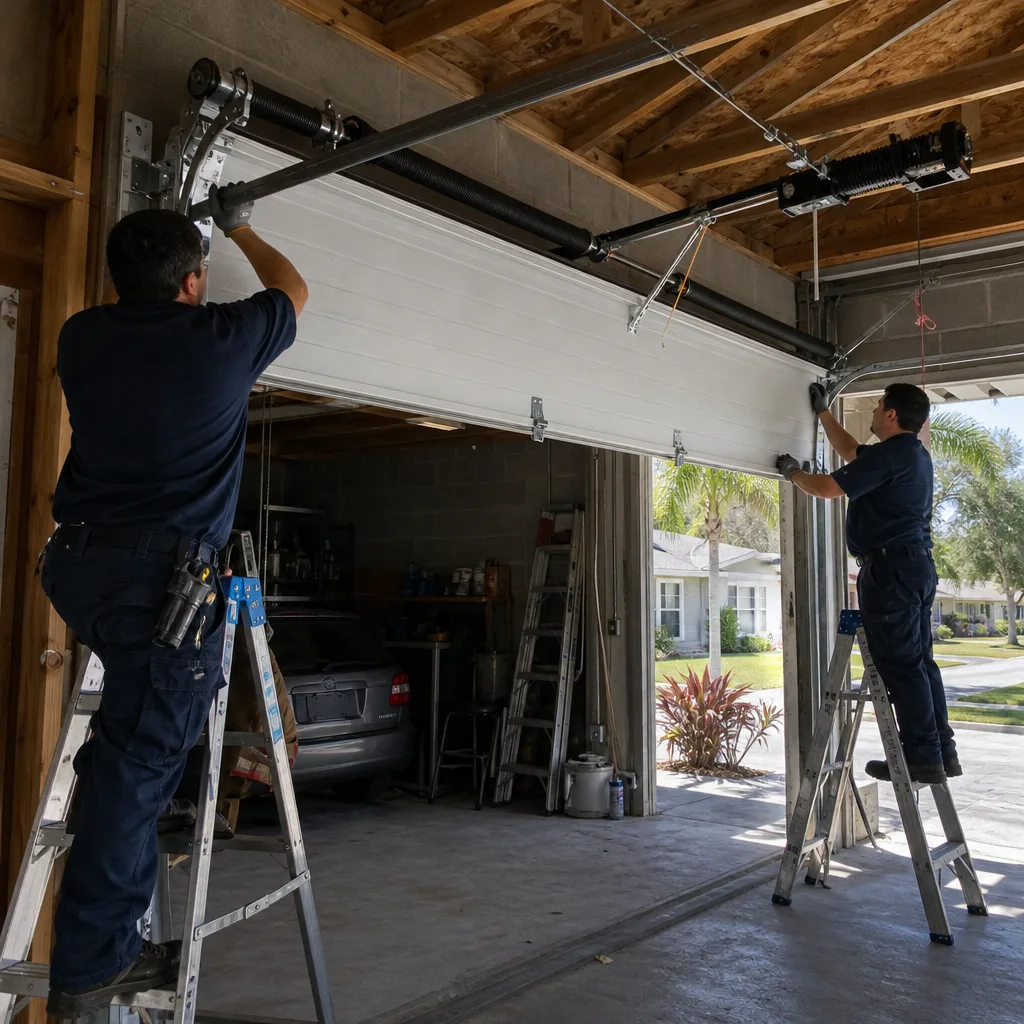
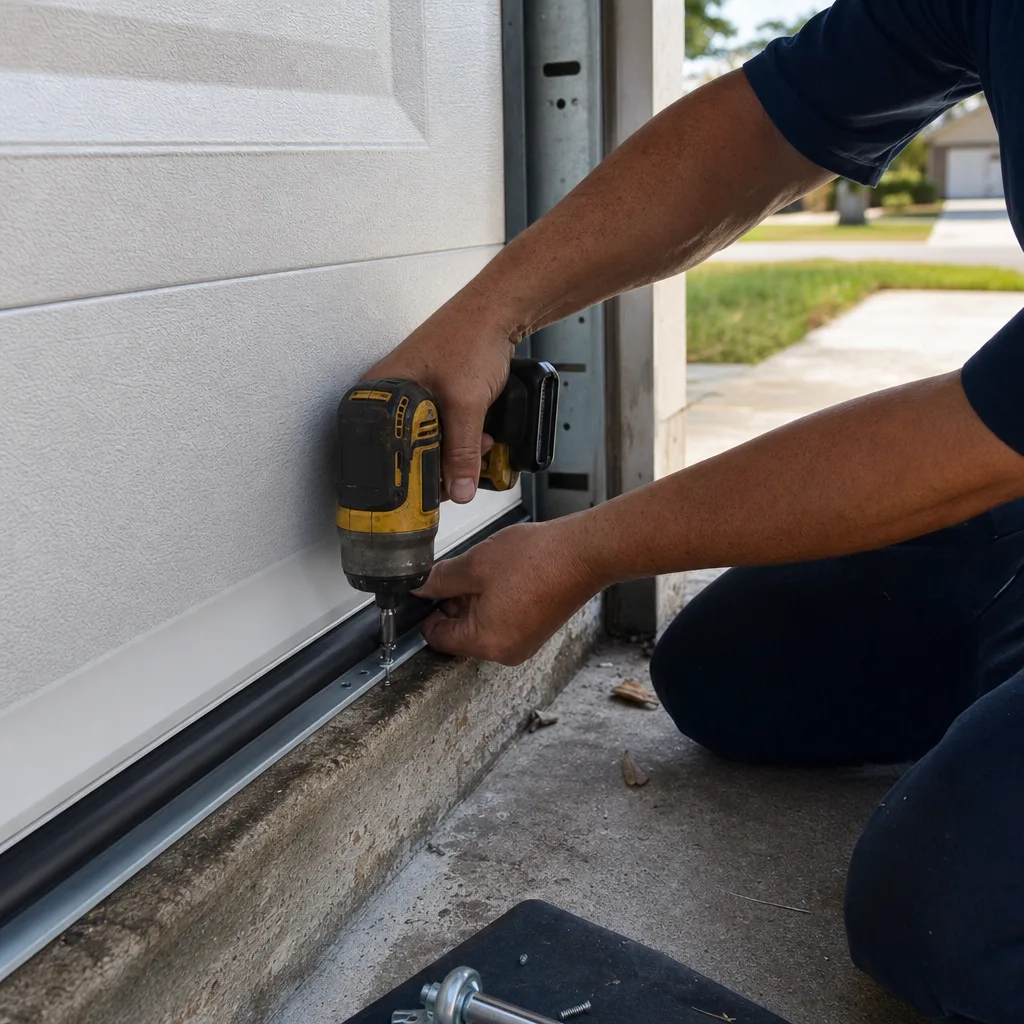
The bottom weather seal is the rubber strip attached to the bottom of the door, and in Lakeland it does more than keep out rain. It also blocks the fine dust and pollen that drifts under the door during dry spells, and it keeps conditioned air inside during the summer when your garage is attached to your living space. A torn or flattened seal is a slow leak, and it’s one of the easiest components to replace.
Inspect the seal in two ways. First, with the door closed, kneel down and look along the bottom edge from inside the garage. Daylight visible through gaps means the seal is no longer making contact. Second, run your hand along the bottom edge to feel for cracks or brittleness. Florida sun and heat age rubber quickly, and a seal that’s brittle will shred when the door scrapes it across a rough concrete floor.
Panel condition matters too, particularly for wood and wood-composite doors in Lakeland. Summer humidity swells wood panels, which can make the door bind in the track or rub against the jamb. The check is simple: with the door half open, look at the gap between the door edge and the track on each side. The gap should be even. If the door is wider in the middle than at the bottom, the panels have absorbed moisture, and wood doors in Polk County need yearly repainting to keep the seal coat intact.
Steel and aluminum doors have a different failure mode: rust at the bottom panel. The bottom panel sits closest to the ground and catches splashback during every summer thunderstorm. Check the lower six inches of the bottom panel for paint bubbling or rust streaks. If you catch rust before it perforates the panel, a technician can treat and repaint; after it perforates, the panel needs replacement.
After any significant storm, especially the afternoon thunderstorms that roll through in July and August, check the door for debris caught in the track and check the weather seal for new tears. A twig trapped in the vertical track can bend a roller stem the next time the door rises.
How to Document Your Maintenance with a Photo Log
A photo log is the most useful maintenance tool you haven’t been using. It creates a dated record of what your door looked like when it was working, which gives you a comparison point when something changes. More importantly, it gives a technician a baseline to work from, and it gives you a reference when someone quotes a repair.
Here’s how to build one that’s actually useful:
- Photograph four components every six months: the torsion spring assembly, one roller on each side, the bottom bracket on each side, and the bottom weather seal. Use the same angles each time.
- Name the files by date and component. “Spring_March_2026.jpg” is searchable. “IMG_4371.jpg” is not.
- Note the door’s behavior at the time of the photo. Quiet or noisy, smooth or jerky, fast or slow. A photo of a healthy roller is more useful if you know the door was running quietly when you took it.
- Add any work performed. If you lubricated the rollers, add that to the note. If a technician replaced a cable, that goes in too.
The founding rule of Servo started in 2015 with exactly this logic. Marcus Deller built the company on the principle that a customer should see the failed part before anyone quotes a replacement, and that principle became Clause 4 of The Haven Standard. Every visit to a Lakeland home now ends with a documented photo record delivered to the customer: what was found, what was done, and what it looked like when the technician left. Your photo log does the same thing from the homeowner’s side. When a technician says a spring shows wear, you can pull up a photo from six months ago and see the difference, or not see it.
A Lakeland Seasonal Maintenance Calendar
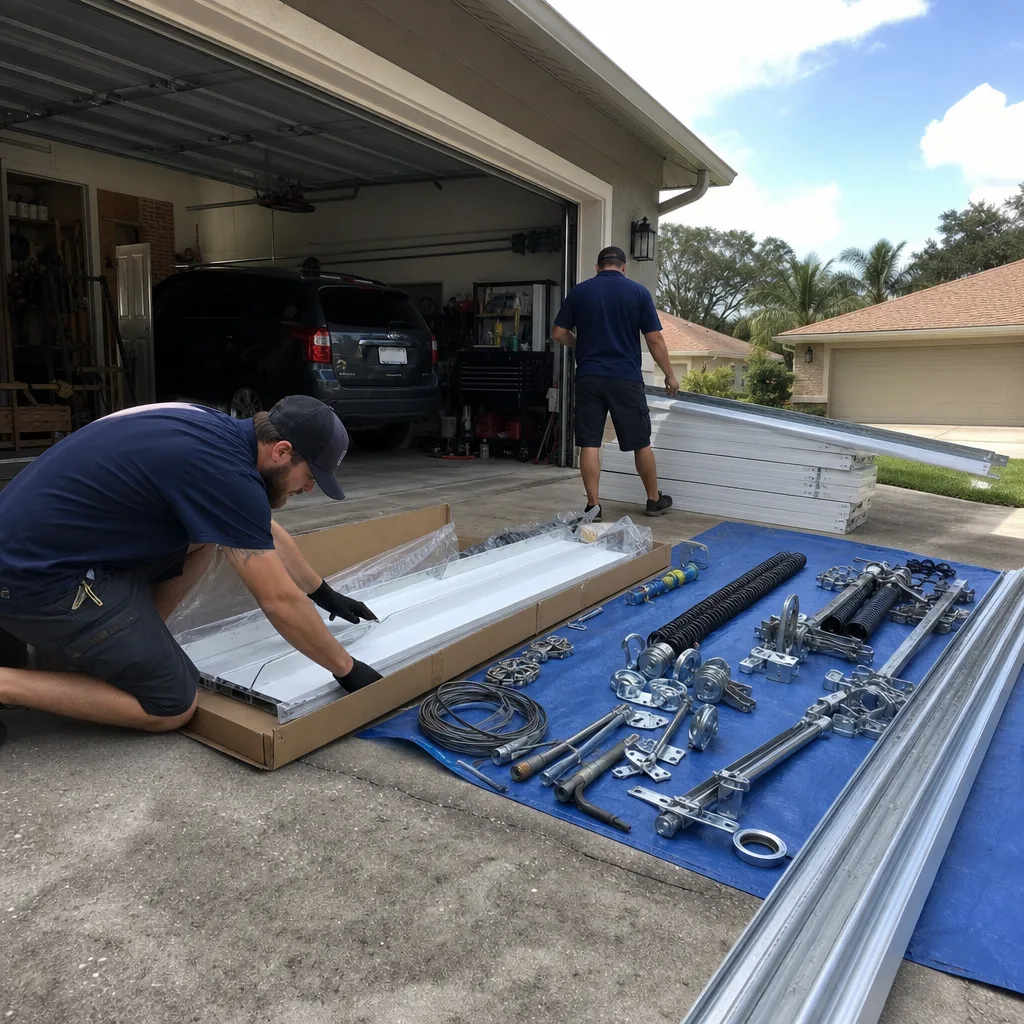
Here’s the full year, compressed into the tasks that matter for this climate:
- January: Test the auto-reverse safety system and photoelectric eyes. Cold snaps in Lakeland are brief but they do affect operator electronics.
- February through April: Wipe the tracks every two weeks during the height of pollen season. Clean the roller bearings before lubricating.
- May through June: Lubricate rollers and hinges. Check the torsion spring for rust. Inspect the bottom weather seal before hurricane season starts.
- July through September: Inspect cables and bottom brackets for rust and fraying. Check panel alignment as humidity peaks. After each thunderstorm, remove any debris from the track.
- October: Second pollen wave. Clean tracks again. Test the operator’s limit and force settings if you haven’t since January.
- November through December: Inspect the weather seal for cracks caused by the dry season’s temperature swings. Check all track brackets for tightness before holiday use increases door cycles.
This calendar assumes a door with no existing issues. If your door is making noise, running unevenly, or reversing erratically, the schedule shifts from maintenance to diagnosis, and that’s where a professional baseline helps. See Garage Door Warning Signs: A Lakeland Homeowner’s Reference Guide to know what to watch for.
Common Mistakes to Avoid
- Spraying WD-40 on rollers and springs. It washes out the existing grease and leaves residue that attracts Lakeland’s pollen. Use lithium-based spray grease on bearings and hinge pivots only.
- Lubricating the track. Grease in the track channel is not a lubricant; it’s a glue for dust. The track should be clean and dry.
- Attempting to adjust a torsion spring. The stored tension is enough to cause fatal injury if a winding bar slips. Leave it to a technician, no exceptions.
- Ignoring a frayed cable because the door still works. A frayed cable is a failure in progress. When it goes, the door drops unevenly and can bend the track.
- Never testing the auto-reverse system. It’s a safety device, not a convenience feature. A door that doesn’t reverse on obstruction can injure a child or pet.
- Replacing one part without checking the system. A worn roller often indicates a track alignment problem. Replace the roller and ignore the cause, and the new roller wears out twice as fast.
- Keeping no record. Without a dated photo or note, you can’t tell whether a spring is rusting faster than last year or whether that crack in the seal is new.
When to Call a Professional
Call a technician when the spring shows a visible gap, when any cable looks frayed or slack, when the door is visibly out of square in the track, when the operator’s force settings won’t hold after you adjust them, or when you find rust at the bottom bracket or bottom panel that has progressed beyond surface discoloration. These conditions all involve either stored tension, live wiring, or load-bearing components, and they’re not safe to address with a wrench and a YouTube video. For help choosing a qualified pro, read How to Hire a Garage Door Contractor in Lakeland: A Step-by-Step Guide. Servo Garage Doors Lakeland offers free estimates to homeowners in Lakeland. Call (863) 656-0858, and we’ll send a technician who quotes a flat, written price before any work begins, per Clause 1 of The Haven Standard.
Frequently Asked Questions
Lubricate the rollers and hinges twice a year, ideally in March and October, which puts the service just before each of Lakeland’s two pollen seasons. Use white lithium grease on the roller bearings and hinge pivots only.
White lithium grease in a spray can is the correct product for nylon and steel roller bearings. Avoid WD-40 and other petroleum-based sprays on rollers because they dry out the bearing and attract the pollen dust that’s heavy in Lakeland from February through April.
Yes, for a defined list of tasks: cleaning tracks, lubricating roller bearings and hinges, testing the auto-reverse system, tightening track brackets, and inspecting the weather seal. You should not attempt to adjust or replace torsion springs, replace cables, or bend tracks, because these components store tension or require specialized tools.
Look at the torsion spring above the closed door and check for a visible gap in the coil. A broken spring shows a clean separation, usually one to two inches, and the door will not lift, or lifts only a few inches before stopping.
Routine lubrication and inspection visits in Lakeland typically run $89 to $150 depending on door size and condition. Repairs found during maintenance are quoted separately with a flat, written price before work starts. Call (863) 656-0858 for an exact quote.
Yes. Our technicians work on LiftMaster, Chamberlain, Genie, Clopay, Amarr, Wayne Dalton, Craftsman, and Raynor. We carry common replacement parts for all eight brands on the truck, and the documented photo record covers whatever brand is on your ceiling or in your track.
The Bottom Line
Garage door maintenance in Lakeland is about countering the local climate: pollen in the tracks, humidity on the springs and cables, sun on the weather seal. The tasks that matter are specific, cheap, and quick: wipe the tracks during pollen season, lubricate the bearings with lithium spray twice a year, test the auto-reverse monthly, and photograph everything. Most door failures are gradual, not sudden, and a dated photo log is the tool that catches them early. When the problem exceeds the maintenance checklist, which it eventually will, call (863) 656-0858 for a free estimate in Lakeland, and ask for the photo record when the technician arrives. That’s what leaving looks like.
Written by Marcus Deller, Owner at Servo Garage Doors Lakeland, serving Lakeland since 2015.